So I totally stole this idea off loads of other people, I'm so not that creative! Anyway I think I saw this project posted on the Sausage Mama face book page and thought to myself I could probably do something similar. Concept seems pretty easy..... take an old pine entertainment unit and whack a coat of paint on it, pretty it up a bit and viola - a awesome, unique play kitchen for Moo.
It wasn't as simple as that.... but really it wasn't that hard either!
HOW TO BUILD YOUR KID A KITCHEN!
Jump on ebay and source a cheap entertainment unit. I got this one for $50.00. I'm sure I could have got cheaper but I was really happy with this one.

Take off all hinges, doors and paint with 'stain cover'. Just purchased from Bunnings, was about $30 - but saves time in having to sand back etc. I figure I can use it for other projects too!

PAINTING: Both stain cover and the gloss white paint was by far the least enjoyable aspect of the project!

My friends husband came over with his jigsaw and cut the circle out for the stainless steel bowl (kitchen sink). He had a spare jigsaw laying around which he has given me for future projects, so from now on I should be able to do my own cutting! (look out!)

Hot plates: these are just little wooden coasters my Auntie found for the project. Auntie Carol is super crafty (as in she likes craft activities, not crafty like a criminal) and she got these for me. I got a wooden dowel rod from Bunnings, painted the coasters black, added the red circle, painted the dowel silver and cut them to size. super glued into place.

Auntie Carol: A big help with this project. One day I popped over for a visit to find her pulling out her hair as she was unable to cut the kitchen tiles with the special cutter thing she purchased. She is responsible for the tiled splash back. she eventually go it to work, after a few broken tiles!
We had the piece of wood for the back of the kitchen cut to size at Bunnings and then measured where the tiles would go and she used proper tile adhesive and actual tile grout to make a very cute and modern splash back for my 21 month old. Who makes a splash back for a baby?!?! Definitely something I didn't think I'd be doing a few years back!

Shelving: So being a kids toy I wasn't super happy with just using those little plastic things you have the shelves sit on. You know the ones where you can remove them to move shelves to the height you want. Not much support when it will probably have a child hanging from it at some stage. So I nailed the shelves into place.

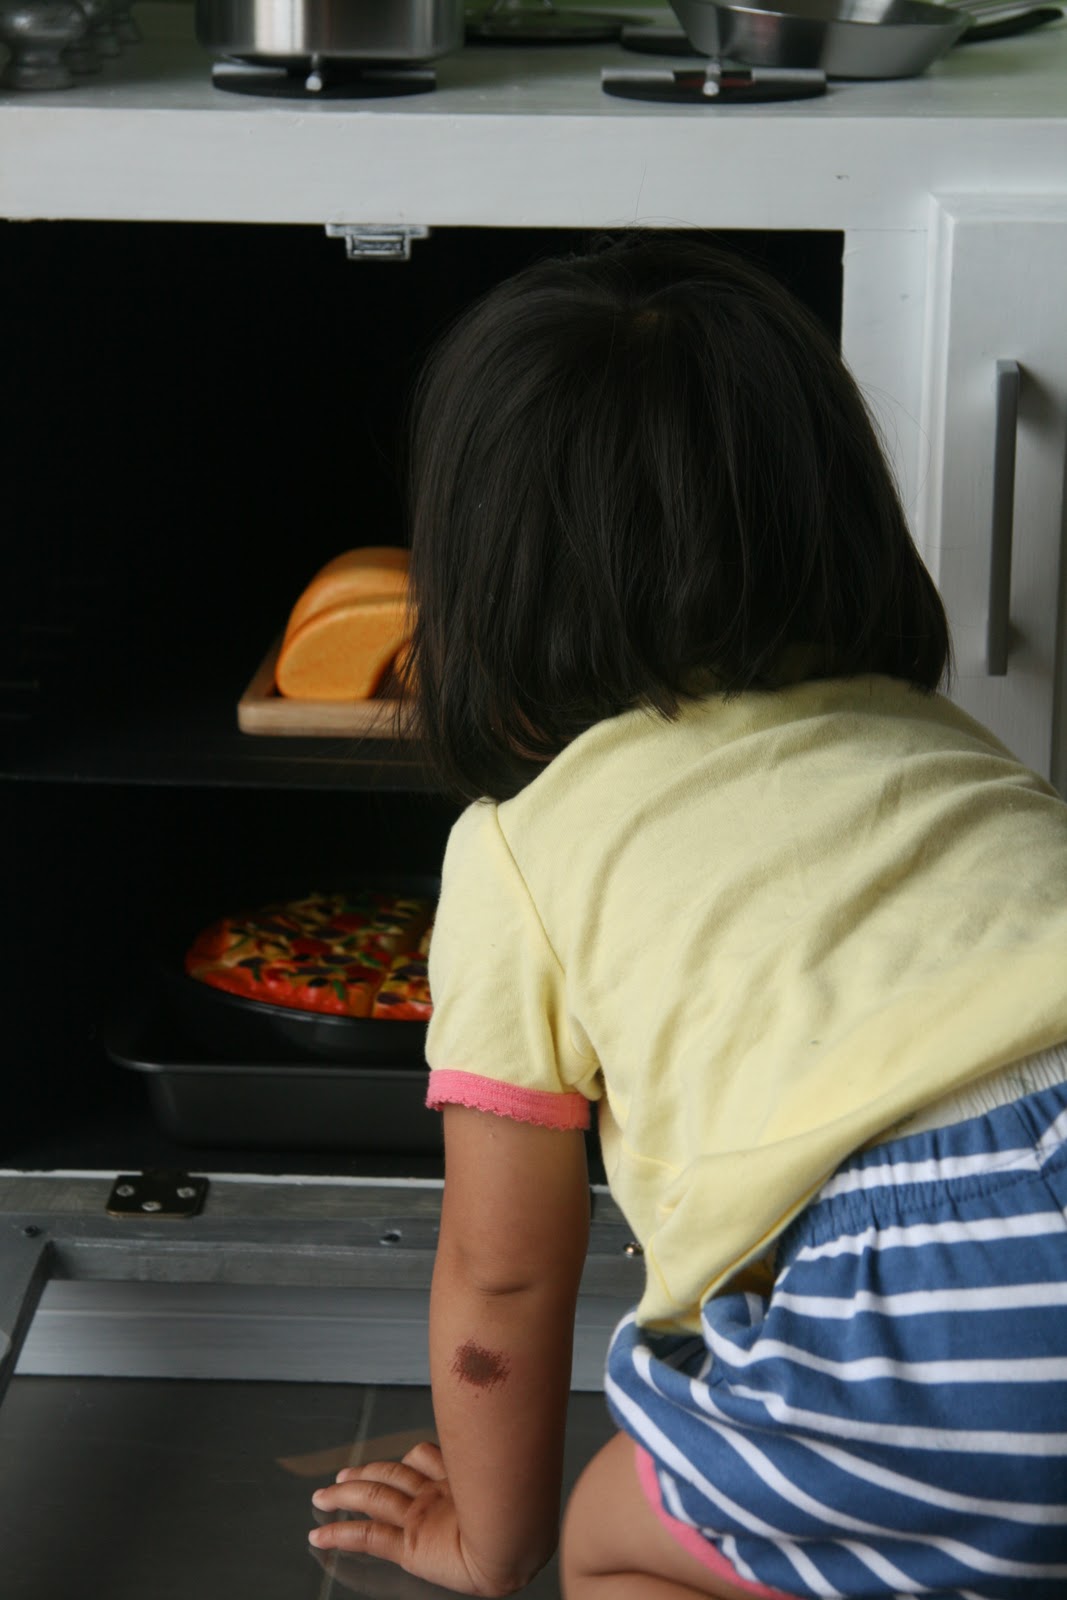
Preparing the oven: Wasn't too hard. Painted the inside black

Purchased some perspex from Bunnings

Had the friend with the jigsaw cut out the inside of the door and square it up. I painted silver and screwed the perspex into place.

I then attached all the doors

We nailed the wooden back (complete with splash back) on to the cabinet.

I hung some baskets on the fridge door. When I nailed the shelves in I measured the baskets to make sure the door could close.

Close up of baskets.

My crafty Auntie made a frill to match the colour of the splash back. I screwed in a little shelf which will hold some appliances. liquid nailed on the hotplates. Screwed in the door knobs as the hotplate knobs. Bowl and tap sitting in place! Looking like a kitchen!

And then I took it home on Xmas eve and had a ball setting it all up ready for Moo in the morning.

Little chalkboard for when she is older she can write her Menu, or shopping list.

The shelves are so HANDY!! Now houses all her play food and cutlery, plates etc. Really nice to be able to throw it all in there at the end of the day!

Christmas eve she was also given an awesome wooden ironing board, with handmade ironing board cover from one of her lovely God mummies! Looks great in her new 'home corner' in the play room.

HAPPY AS A KID AT CHRISTMAS.


Hot plate coming through!

AAAAAAAAAmazing. I am so going to be on the lookout for one of these and try and do this. I have been wanting a kitchen for my daycare but have not yet found anything I like. This is soo amazing! Thank you for linking up over at Natural-NesterS! WE are your newest followers-
ReplyDelete-Big Sis
This is so amazing! You did so much work on this! Even the tiling in the back! I absolutely love it! And she is so cute and looks so happy with her kitchen! Love that last pic of her! :-)
ReplyDeleteWonderful job!
Thanks for linking up at our Naturally-Nifty Linky Party #1!
Hey the sisters over here at Natural-Nesters loved this so much that we featured it on our 2nd Linky Party! We would love for you to go take a look, and our Naturally-Nifty Linky Party #2 is open so go ahead and link up some more great stuff while you are there!
ReplyDeletehttp://www.natural-nester.blogspot.com/2012/02/naturally-nifty-linky-party-2-features.html
**Also could you please put our Naturally-Nifty Button on your blog!??? Thanks